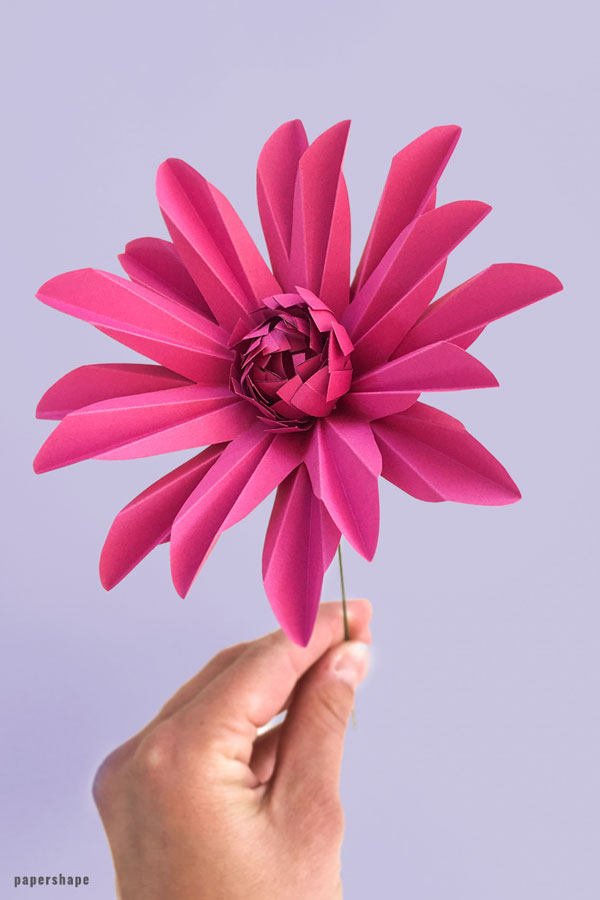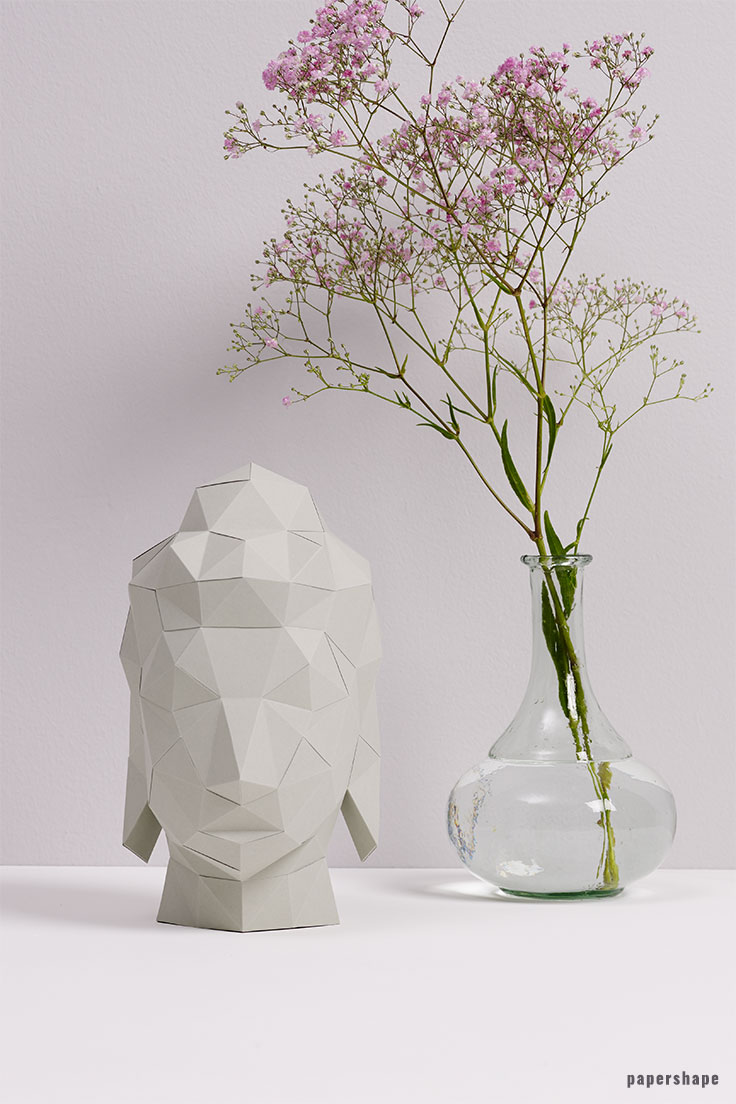


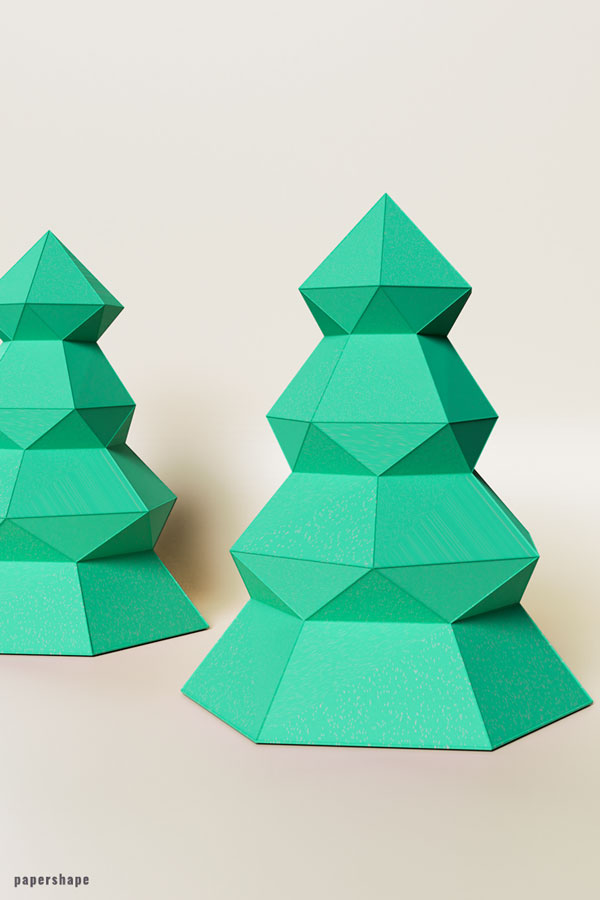
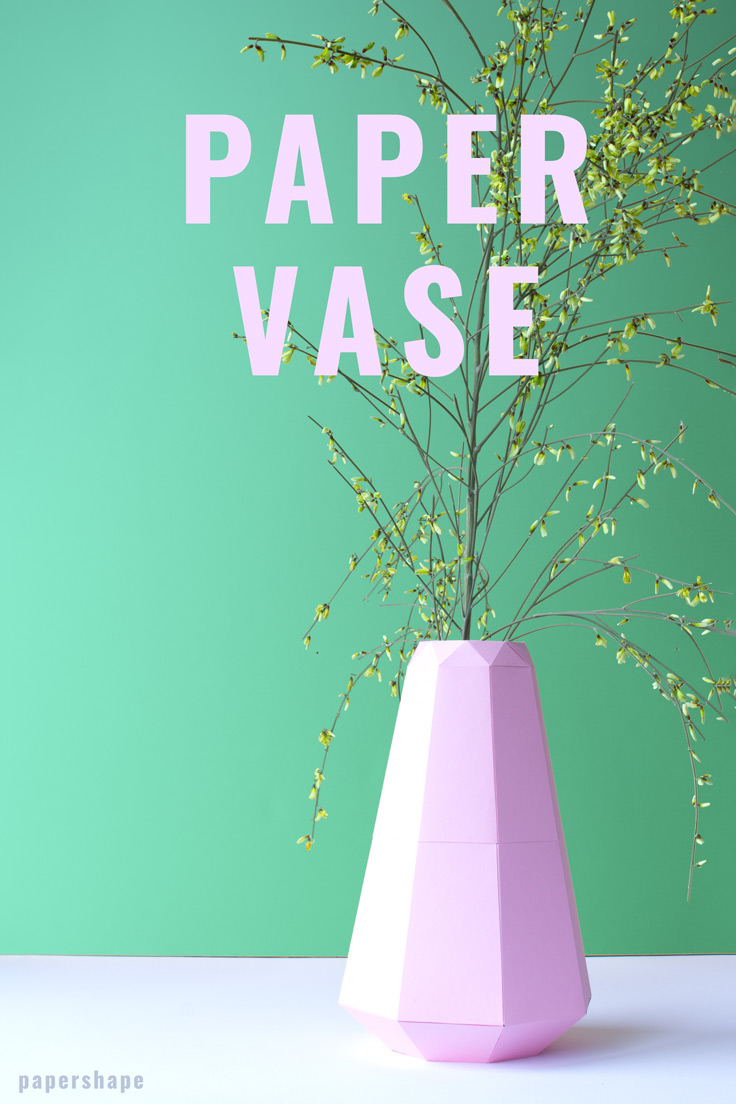
How to make a paper flower vase (step by step with template)
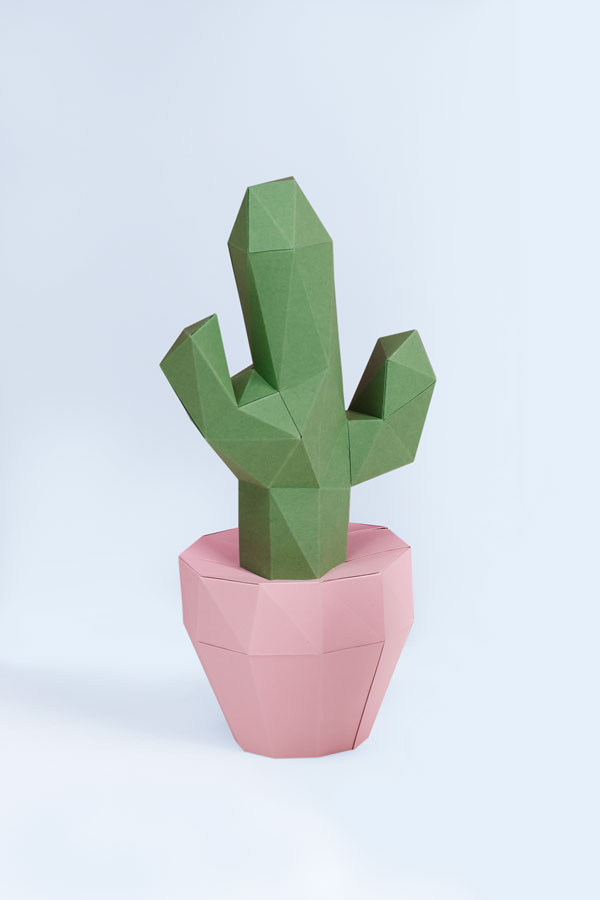
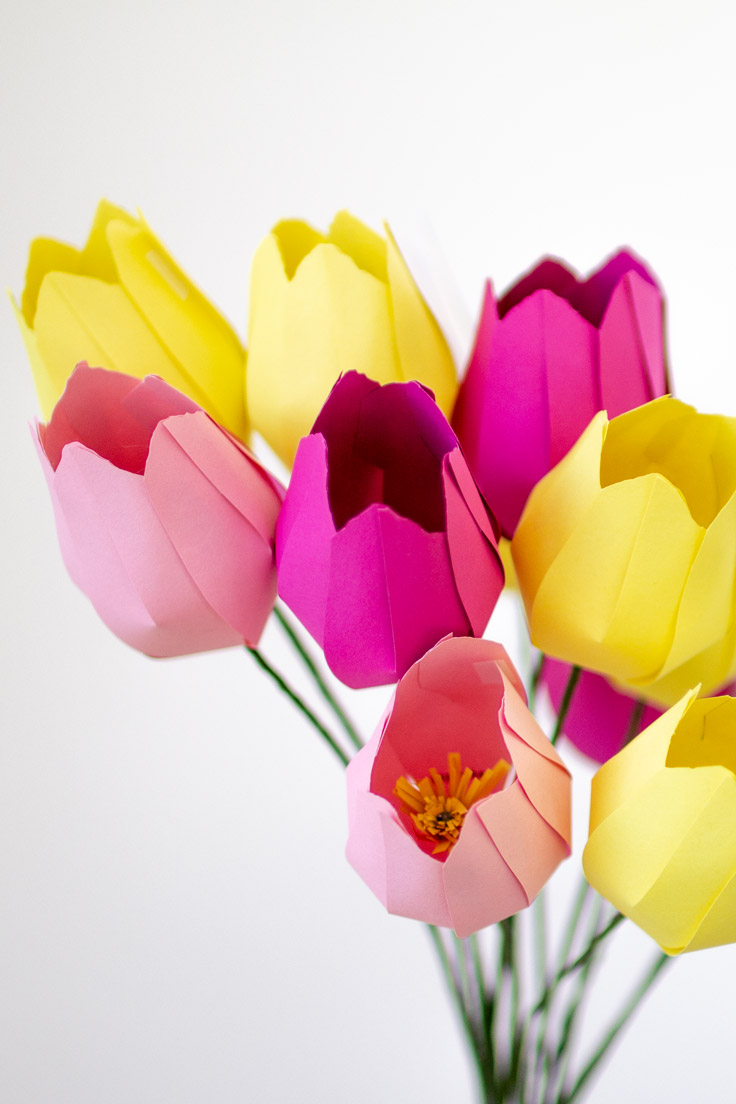
Spring is coming and it's time for homemade modern flower vase ideas. If you like geometric and straight lines you will absolutely love this paper craft project.
It looks like an origami vase though it is not one piece of paper. It is easy to make and you will love the result.
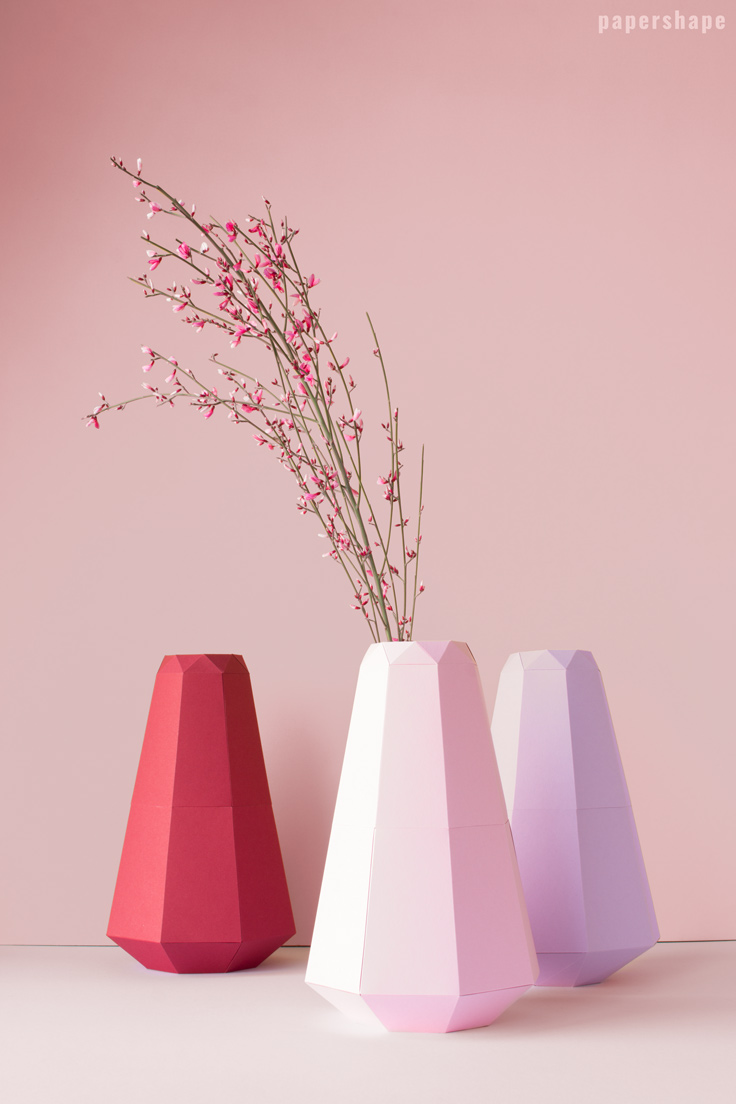
Size: 25cm (9.8 inch) high / 15cm (5.9 inch) at the widest point / 9.5cm (3.7 inch) diameter of the bottom opening / 5cm (1.9 inch) diameter of the top opening
How to make a homemade paper vase sleeve
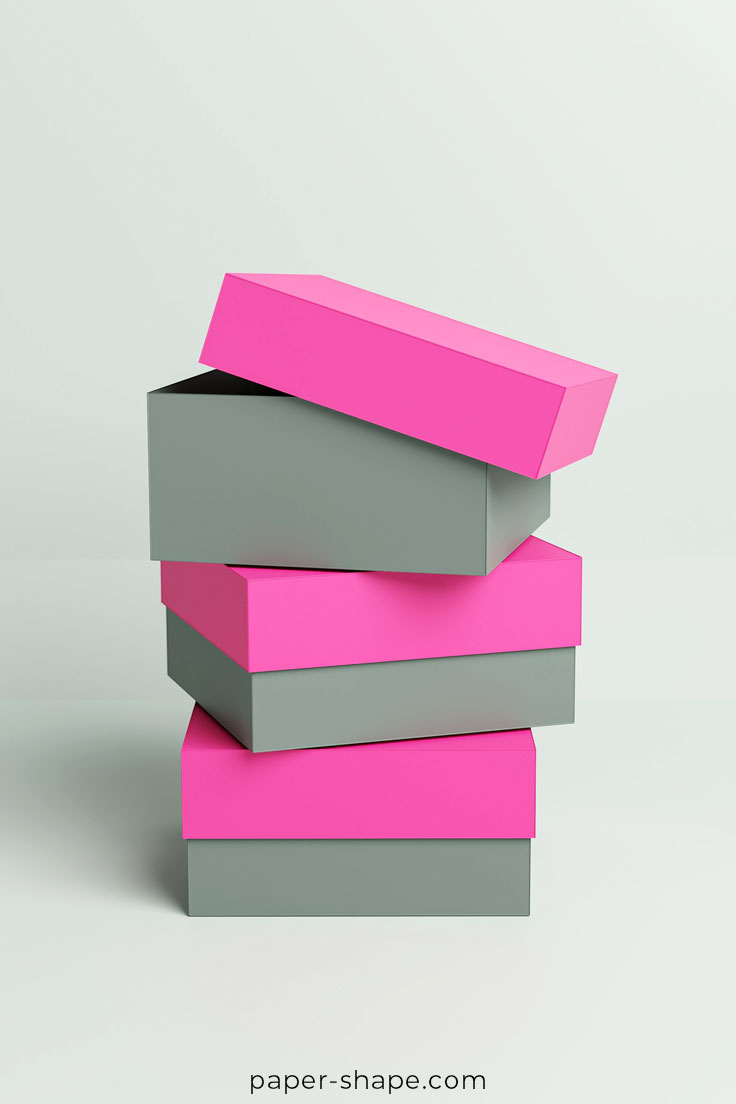
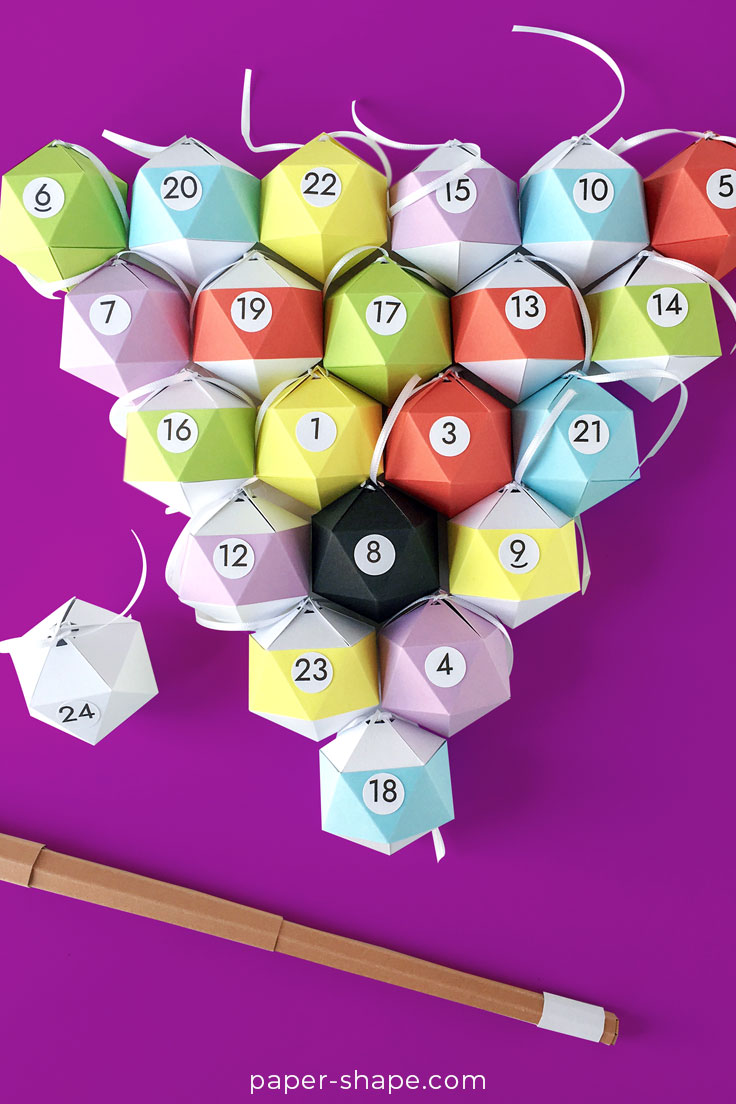
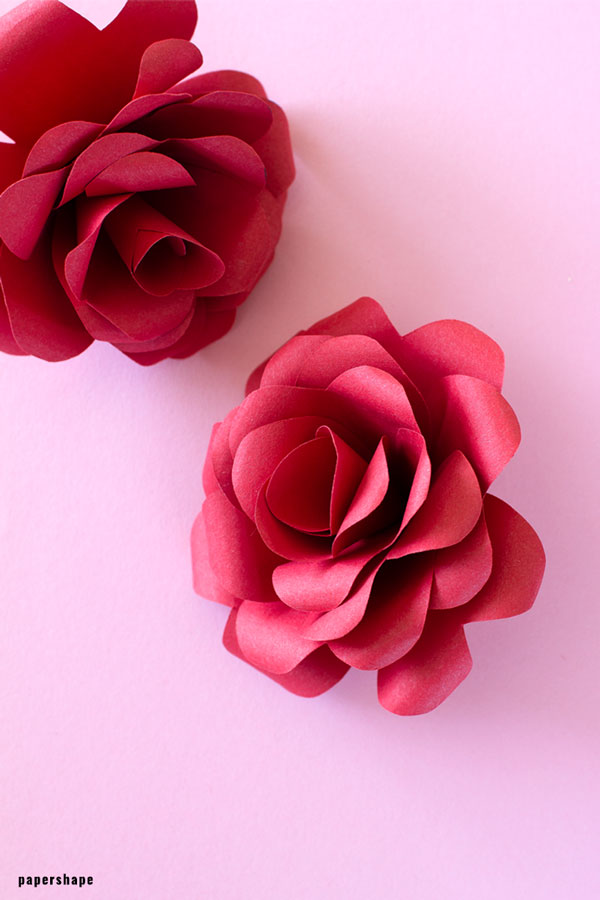
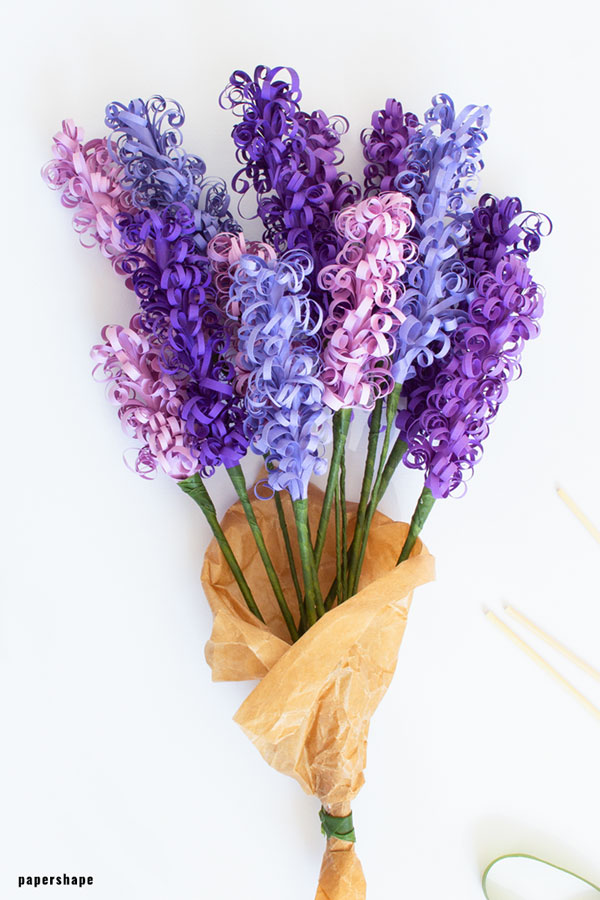
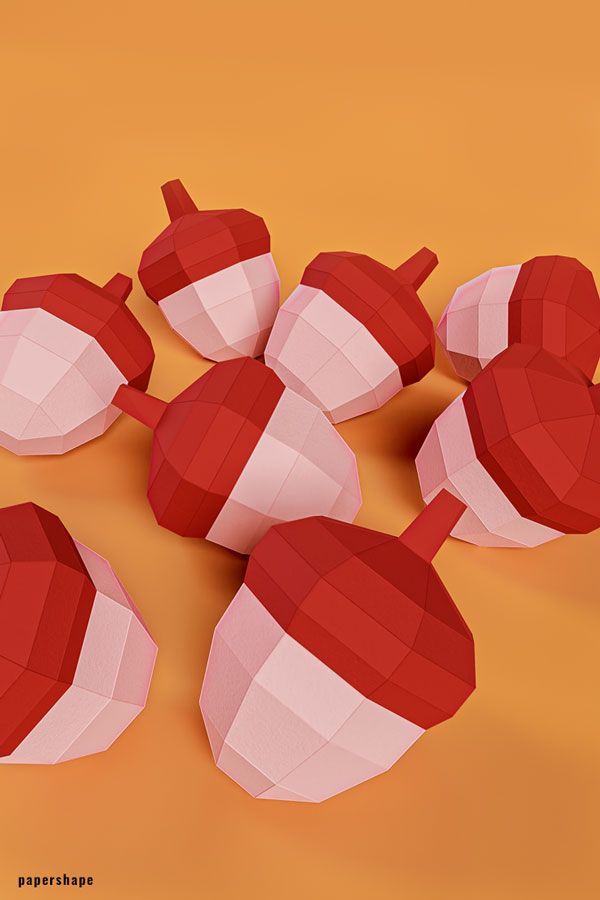
I love this color combination and I wondered if the flower-arrangement may be a lovely table deco at a wedding in spring. You could also add the table number on the vase.
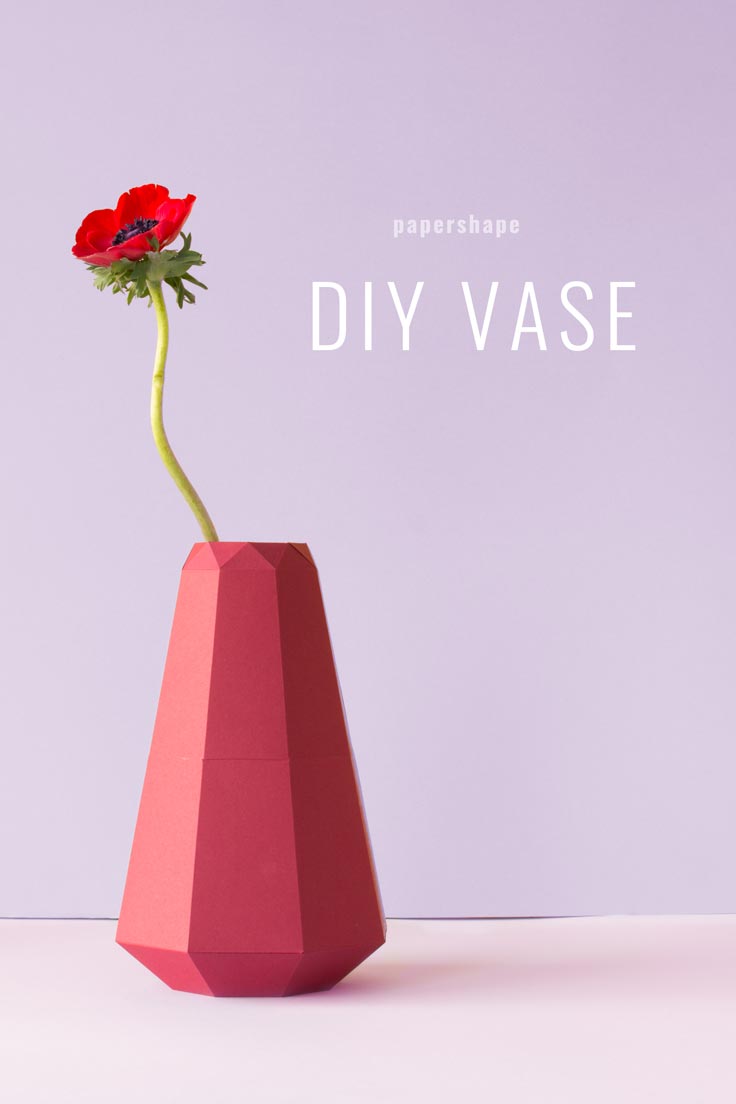
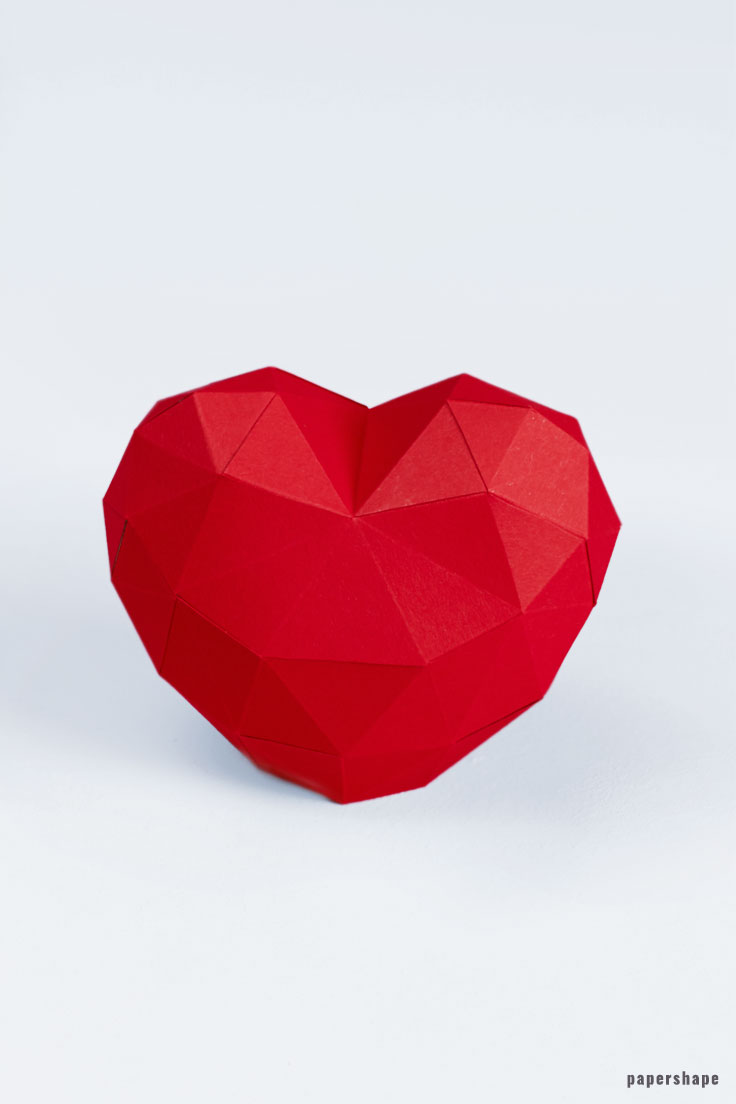
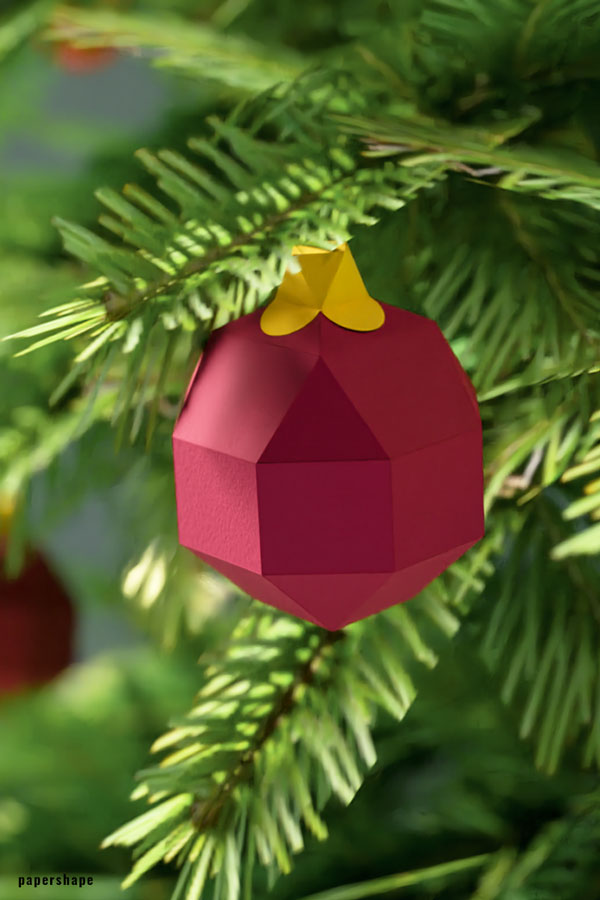
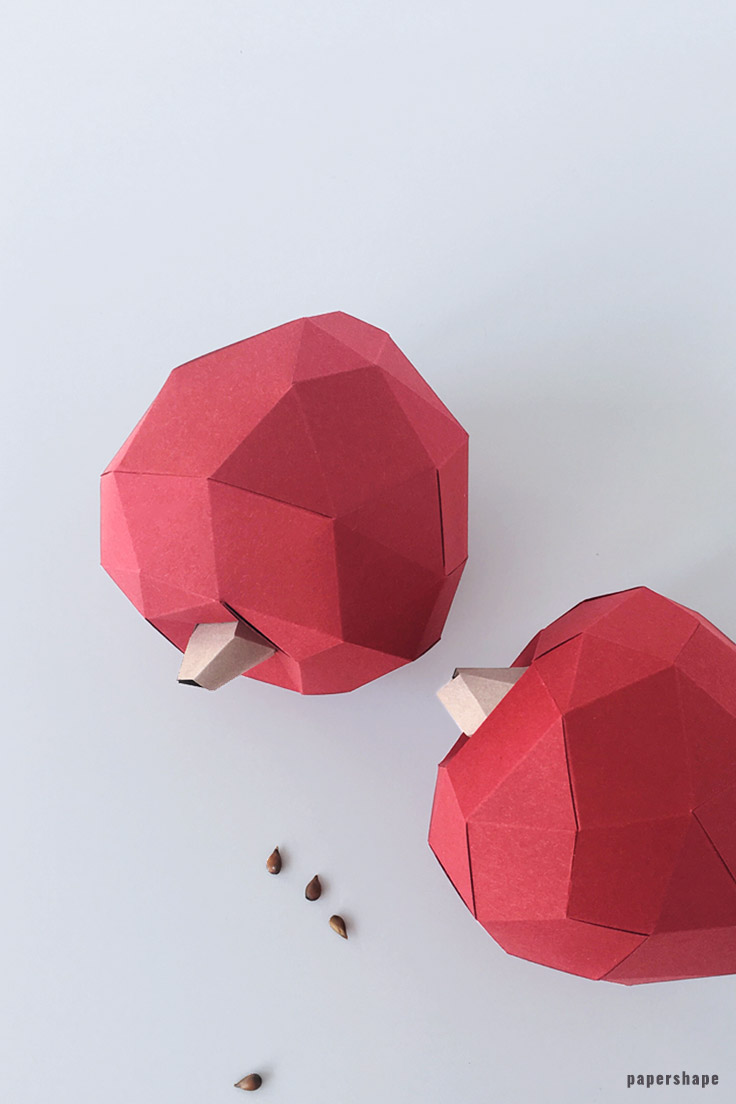
I agree: red is a vibrant color - but how cool would that diy paper vase be as a present for Mother's Day?


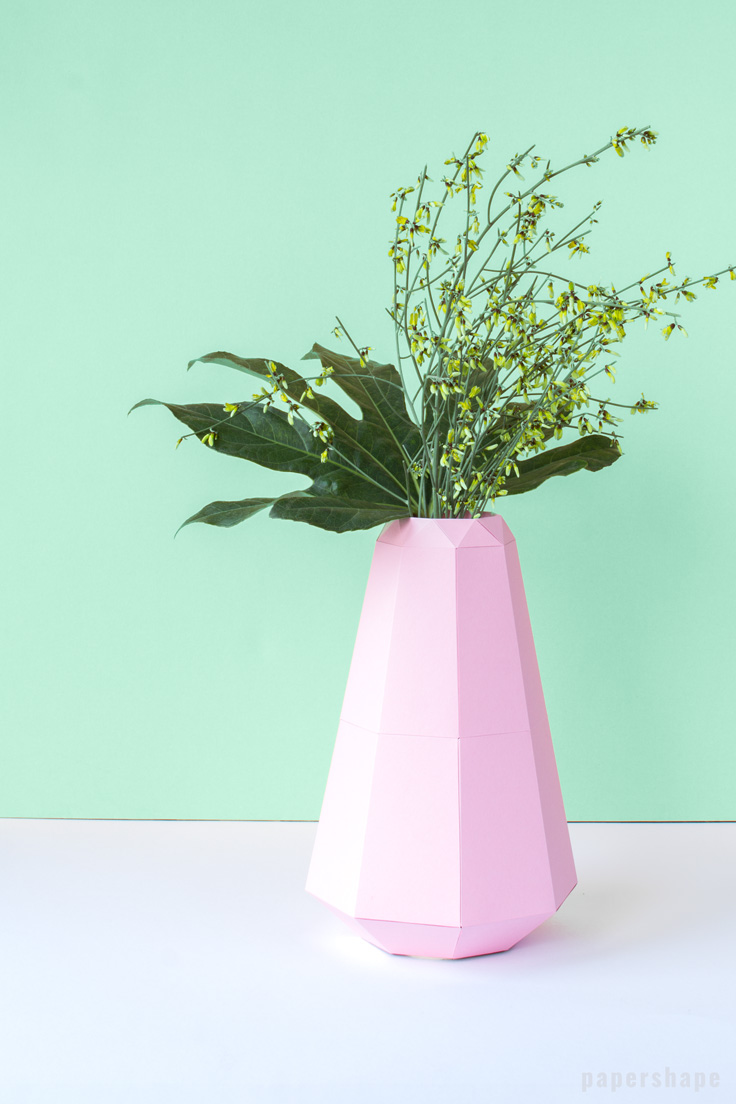
Paper Craft instructions: easy 3d paper vase in just 3 steps
Materials needed
- 4 cardstock paper (8.5in x 11in) (weight: 65lb-110lb / 176gsm-300gsm)
- Glue or double-sided tape
- Scissors
- Ruler
- Bonefolder / awl / ball pen refill etc.
- Cutting mat
- drinking glass (e.g. Ikea Pokal)
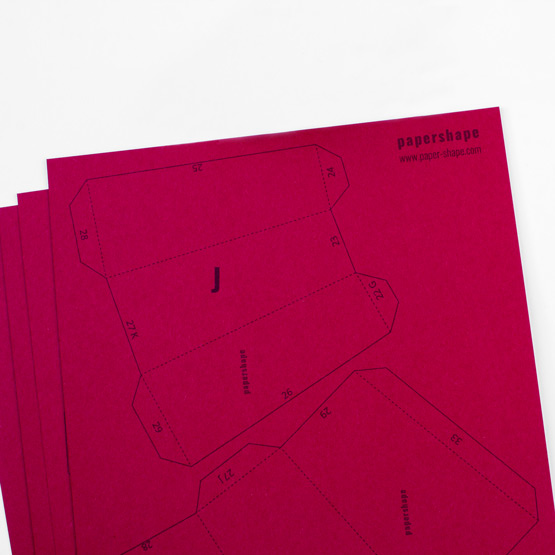
1. Print the vase template (US letter or DIN A4) on paper of your choice. I used the colors lavender, ruby and authentic rose. Each printer should easily print cardstock up to 230gsm (80lb).
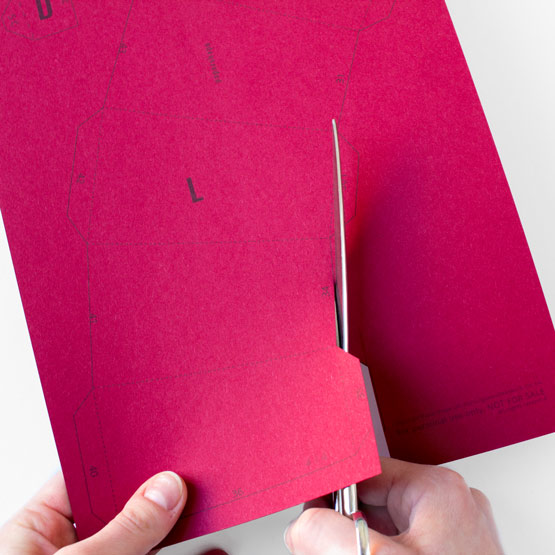
2. Cut out the paper parts (A, B, C, ...) by cutting along the solid lines.
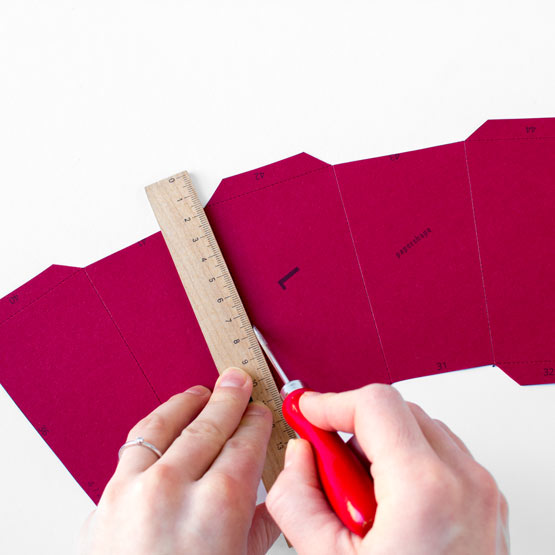
3. Place a ruler on the dotted lines and mark the folds by pressing down hard and running a bonefolder or an awl along the lines. Don't skip this step - no matter what paper you use. The result will look so much better.
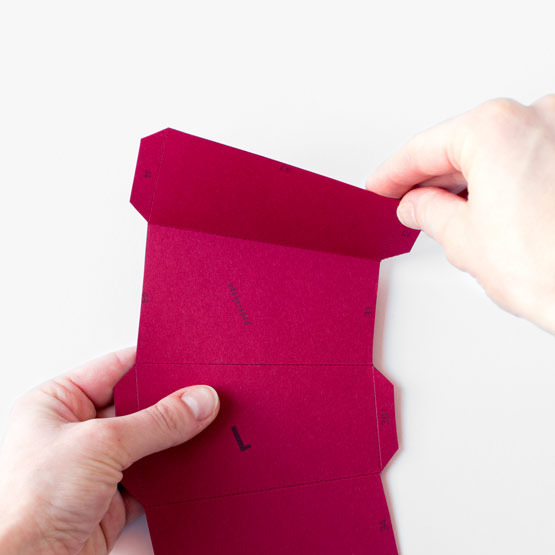
4. Start with the paper piece A and place it in front of you. The printed side should be facing you. Subsequently fold all the dotted lines either inwards, which means to fold up (short dotted lines) or outwards, which means to fold down (long dotted lines), according to the markings.
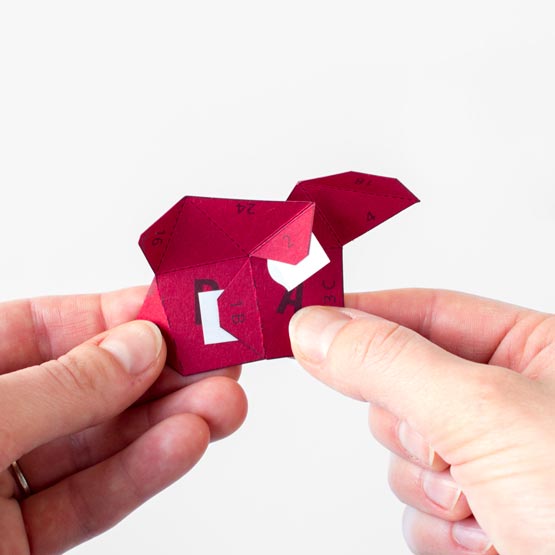
5. Use double-sided tape or any glue onto the unprinted side of the tabs.Each number exists twice. Stick all the same numbers together in ascending order (1, 2, 3, ...). Start with section 1 and stick it to the section marked 1 on paper A, pressing firmly enough to make them stick together.
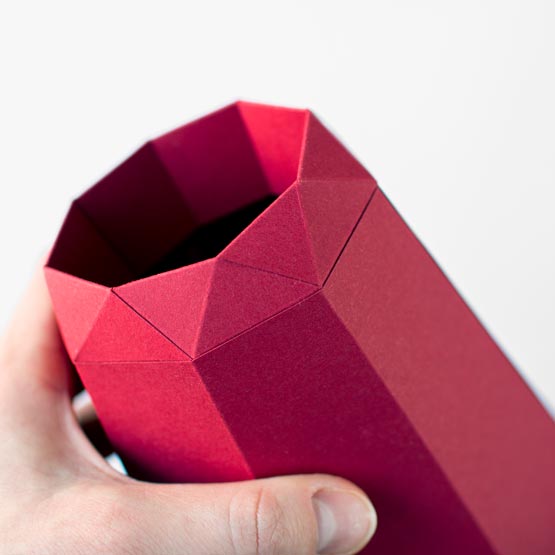
6. Finally just put a standard Ikea drinking glas beneath the paper vase. Tip: Watch the video to learn how the paper parts A-H have to be folded. It is not difficult but pictures won't show that step. Enjoy decorating.
You may wondering how to put out the flowers once they withered - without getting the inside wet. Here is my recommendation: It is easier with a helping hand, so I ask my boyfriend to lift the entire vase (with the glass and flowers). Then I take the glass and put it aside and dry the flowers from beneath with a tissue. Then simply pull out the flowers of the vase.
Take care how many flowers you put into the vase as it may fall over.
Don't miss the video and learn how to create constant transitions.
You will learn how to craft the paper vase with constant transitions (tipp #1) and how to fold the top of the vase correctly (tip #2).